Complete XInputPlus Setup & Calibration Guide: Deadzones & Trigger Tuning
Updated September 2026 | Technical Tutorial | 7 min read
Whether you are battling stick drift on an older gamepad, playing a retro racing title that demands razor-sharp trigger thresholds, or remapping generic joysticks into Xbox 360 inputs, XInputPlus provides the most surgical configuration utility available for Windows gaming.
In this walkthrough, we guide you through installing, calibrating, and saving custom game profiles using XInputPlus.
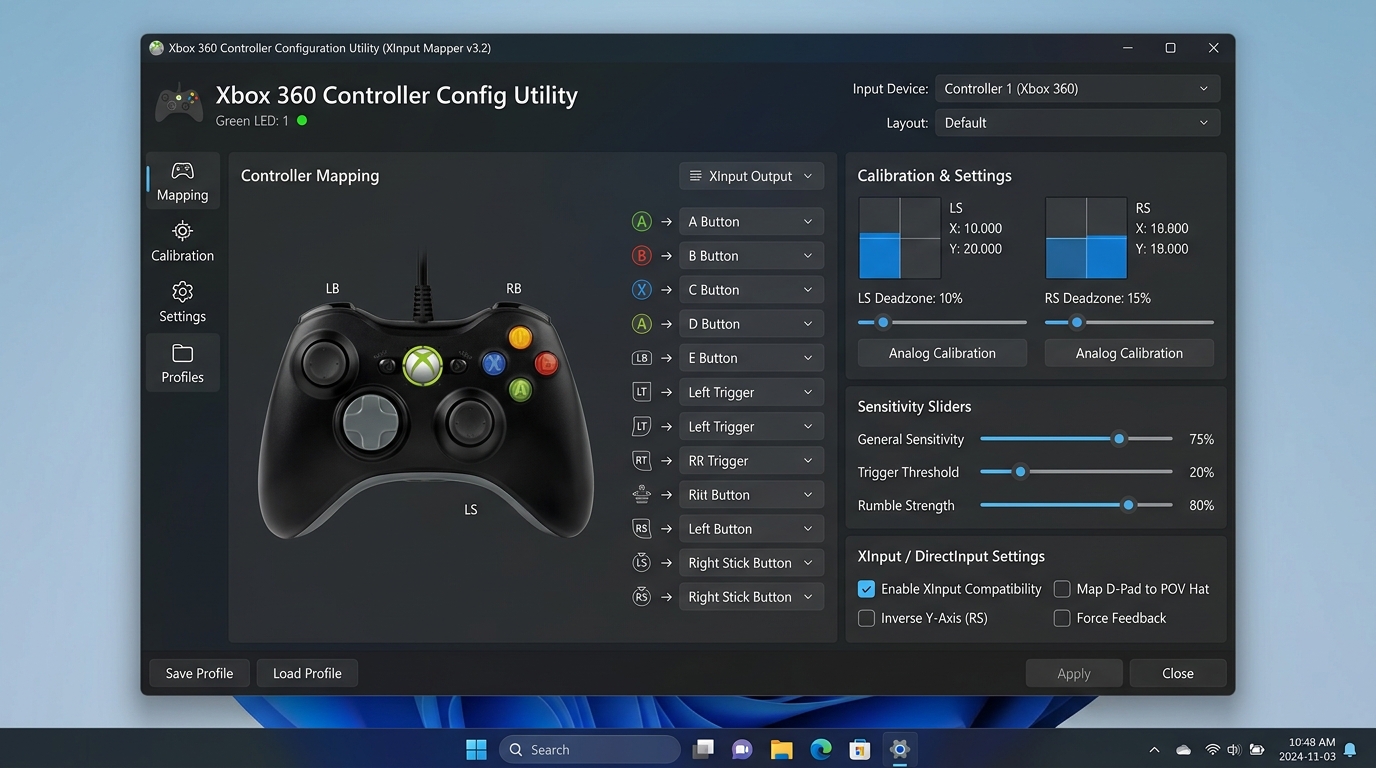
Prerequisites
- A Windows PC running Windows 11, 10, 8.1, or 7.
- Your game controller connected via USB or Bluetooth.
- The official XInputPlus archive from our Download for Windows page.
Step 1: Launch and Target Game Executable
- Extract
XInputPlus_Ver4.16.1.zipto a permanent folder on your PC (such asC:\Tools\XInputPlus\). - Right-click
XInputPlus.exeand choose Run as administrator. - At the top of the window, click the Target Program browse button (
...) and select your game's main executable (e.g.,Game.exe).
Step 2: Calibrate Analog Stick Deadzones
Analog stick drift happens when worn potentiometers report tiny movement values even when your thumb isn't touching the stick. In XInputPlus, you can eliminate this instantly:
- Navigate to the DirectInput tab.
- Check the box for Enable DirectInput.
- Under Left Stick and Right Stick, you will see the Deadzone slider.
- Set the deadzone between 5% and 12%. This creates a small buffer around the center rest position, completely curing phantom character or camera movement without sacrificing responsiveness.
- Optionally adjust the Linearity / Sensitivity curve if you prefer snappier aiming in first-person shooters.
Step 3: Trigger Threshold Tuning (LT & RT)
Many older or budget gamepads have digital microswitch triggers rather than continuous analog pressure sensors. In the Trigger tab:
- Analog Mode: If your controller features real analog triggers, you can set the response curve so slight presses register immediate partial input.
- Digital to Analog Conversion: If your controller's triggers are digital buttons (such as L2/R2 on retro gamepads), XInputPlus instantly scales the button press to an instantaneous full
255analog signal. - Trigger Deadzone: Prevent accidental hair-trigger firing by setting an initial activation threshold of 5%.
Step 4: Button Remapping Matrix
Switch to the Key Assign tab. Here you can customize which physical button corresponds to standard Xbox 360 inputs:
- Press any button on your physical controller—the corresponding indicator in the XInputPlus GUI will illuminate in real time.
- Assign that physical input to your preferred XInput action (A, B, X, Y, LB, RB, Start, Back, or Stick Clicks).
- Save inverted axes if your controller's vertical stick behaves upside-down.
Step 5: Vibration Intensity Adjustment
On the Vibration tab, you can fine-tune rumble motors:
- Set the Left Motor (Heavy Shake) multiplier (0% to 200%).
- Set the Right Motor (Light Buzz) multiplier.
- Test vibration directly by pressing the Test Vibration button to verify feedback functionality before entering the game.
Step 6: Apply and Deploy the Profile
- Once configured, click Apply at the bottom of the window.
- XInputPlus will automatically generate the tailored
xinput1_3.dllwrapper andXInputPlus.iniconfiguration file inside your target game's folder. - Close XInputPlus and launch your game. Your gamepad is now fully calibrated!
Uninstalling / Resetting to Default
Because XInputPlus never alters Windows system files, uninstalling is effortless: simply open your game directory and delete xinput1_3.dll and XInputPlus.ini. The game will revert back to its standard vanilla state immediately.